

Add Spiral in Claude
Opens Claude’s Add custom connector with Spiral and its URL filled in.
- Add Spiral in Claude: the button opens Add custom connector with Spiral and its URL filled in. Click Continue, then Add.
- Connect and sign in to Spiral, then click Authorize. No API key.
- Ask Claude for an image, a video or a voice-over, and Claude uses Spiral.
Step by step
1
Add Spiral to Claude
Click Add Spiral in Claude above. Claude opens Add custom connector with Spiral and its URL filled in; check
them and click Continue. Without the link: in Claude open Customize › Connectors › Add › Add custom
connector and paste this URL: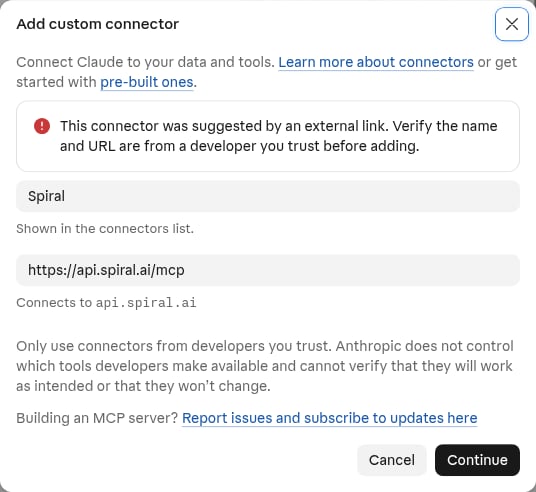
2
Keep the detected sign-in and click Add
Claude finds Spiral’s sign-in by itself: leave Sign in now and Use Claude’s published identity selected.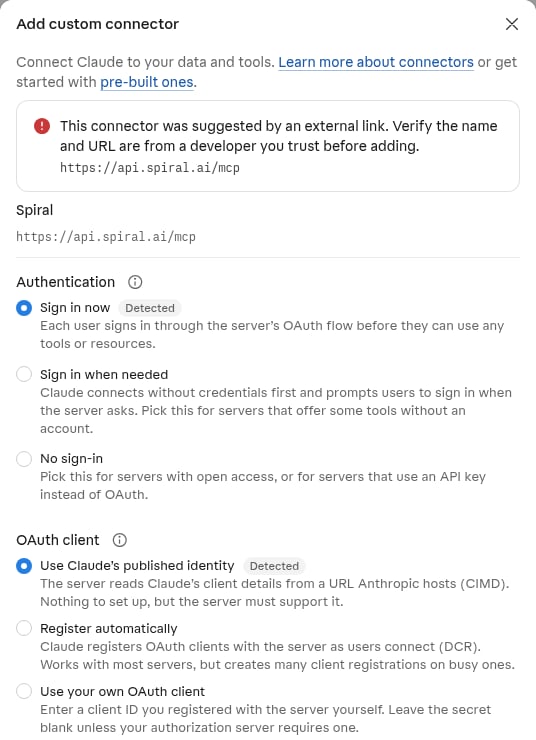
3
Click Connect
The connector page opens. Connect takes you to Spiral in your browser.
4
Sign in to Spiral and approve
Sign in, pick the organization Claude should use and click Authorize. Spiral gives the connection its own API
key; Claude never sees it, and you can remove the connection under Settings › Connected apps.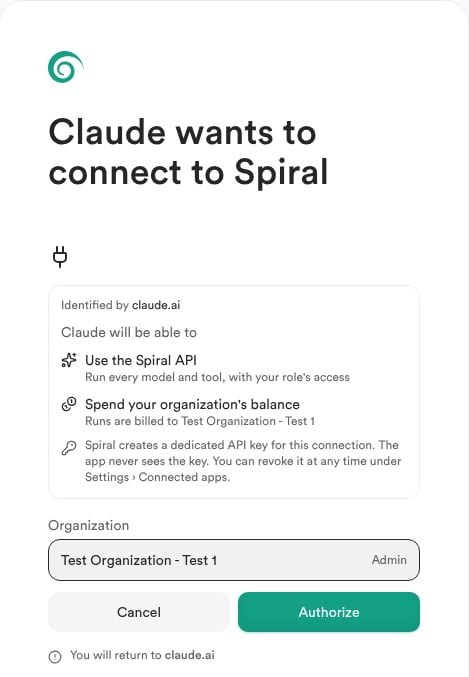
5
Check that it is connected
Back in Claude, the connector shows Disconnect and lists Spiral’s tools.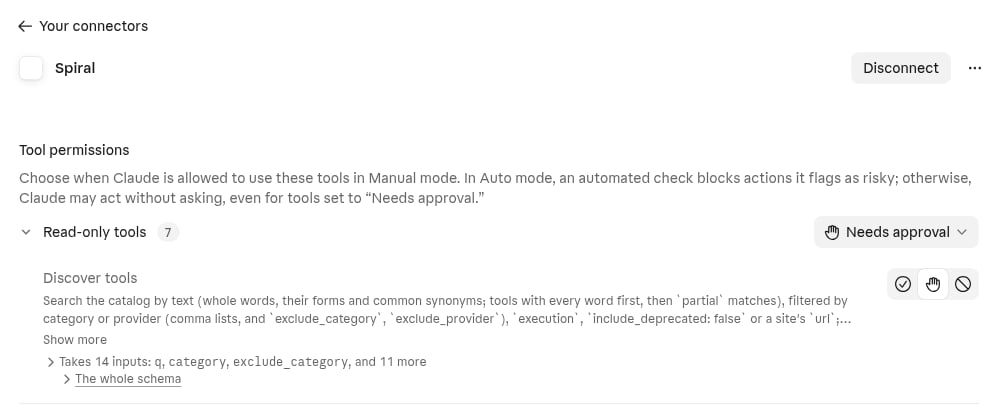
6
Try a starter prompt

Claude Team and Enterprise: add Spiral for your organization
Claude Team and Enterprise: add Spiral for your organization
Only an organization Owner can add a custom connector. Open Organization settings › Connectors, click
Add › Custom › Web, paste
https://api.spiral.ai/mcp and leave the client ID and secret empty. Each
member then opens Customize › Connectors, finds Spiral marked Custom, clicks Connect and signs
in to Spiral.Claude Enterprise: connect members without the approval page
Claude Enterprise: connect members without the approval page
An organization owner can let members connect without seeing Spiral’s approval page: in the Spiral console,
open Settings › Security & SSO › MCP auto-connect and enter the issuer URL Claude shows for your
organization.